Tutorial
In this page you will learn how to create your own custom frame, using our visual configurator.
1 - Product selection
First of all, select your favourite model. If you are not sure about which one is for you, you can use our step-by-step process, or see the FAQ page.
Once you enter the configurator, you will see this screen:
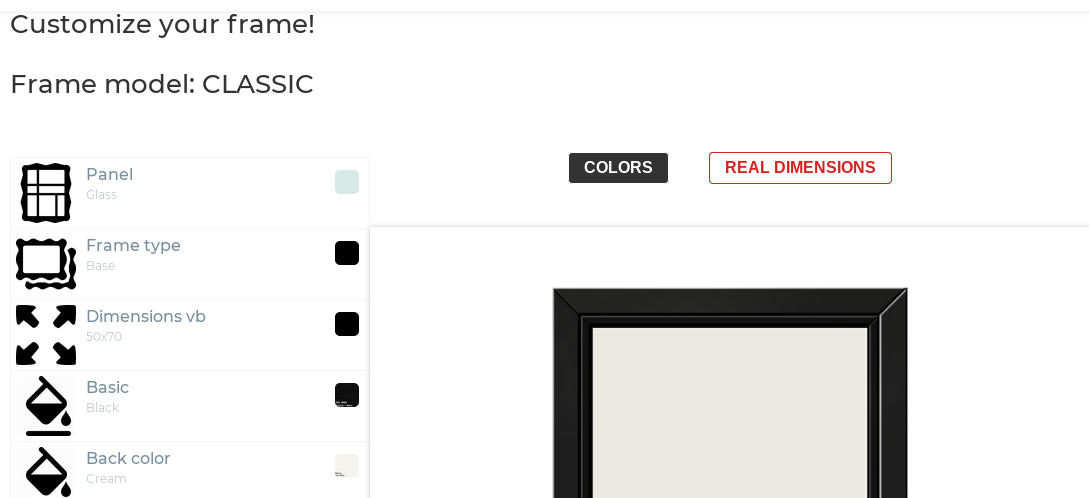
on the left column you will see all the available options, while on the right there is a live preview 3D render who will show you the result.
On the bottom-left corner, the price will automagically update itself, according to your choices.
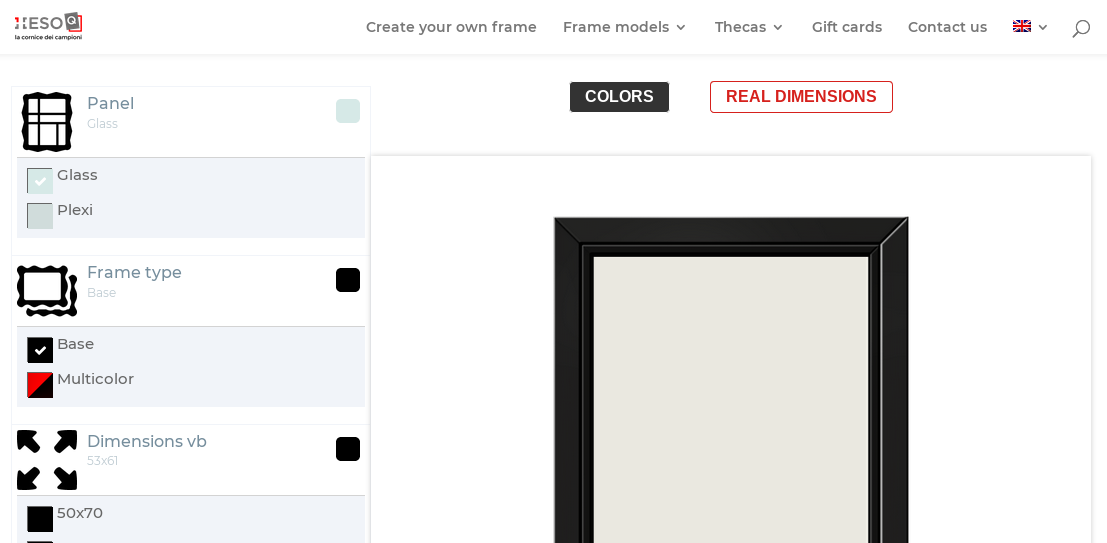
2 - Using the configurator: choose the options
The options will appear and disappear according to your previous choices. Through the drop-down menus you can choose the type of panel (glass or plexiglass), the type of frame (base or multicolor) and the dimensions (depending on the model of frame chosen).
3 - Using the configurator: choose the colors
Through the color selector you can choose the colors of the various sections of the frame: outer frame, inner frame, hanger and backrest.
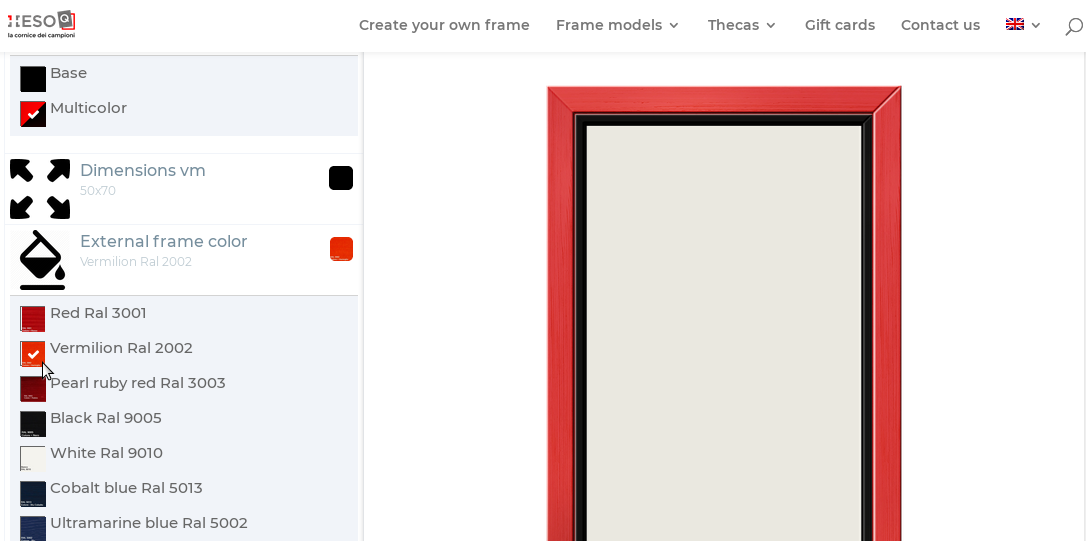
The options will be enabled according to the selected model and the previous choices made (for example, selecting as the basic frame type we will have the monochrome black frame. Selecting multicolour instead you can give a different color to the internal and external frame). The preview on the right will automatically update every time you choose a color.
4 - Using the configurator: real dimensions
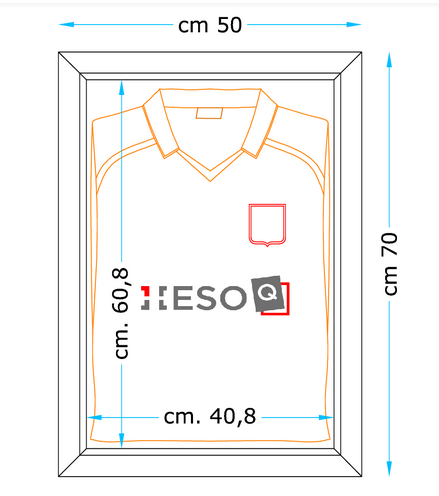
Once you have selected the size of your frame, you can view the technical details by clicking on the REAL DIMENSIONS button on the right.
This diagram shows all the dimensions of the frame and the shirt inside it.
5- Add to chart
Once you are satisfied with your custom frame just click ADD TO CART to finish the configuration. You can complete your order or continue your purchases.